3-Tier Cupcake Display Guide
Want to impress at a party, wedding, or celebration? A 3-tier cupcake arrangement is a perfect show-stopper!
While the cupcakes themselves are simple to make, how you display and layer them adds elegance and drama to your dessert table.
In this article, we’ll show you how to bake moist cupcakes, arrange them into a 3-tier display, and decorate them beautifully. We’ll also share creative flavor combos, helpful tips, and background info about tiered cake displays.
At a Glance
| Prep Time | Cook Time | Cooling + Assembly | Total Time | Yield |
|---|---|---|---|---|
| 25 mins | 18–22 mins | ~40 mins | ~90 mins | 36–48 cupcakes (for 3 tiers) |
Ingredients for Cupcakes (Makes ~48)
| Ingredient | Quantity | Notes |
|---|---|---|
| All-purpose flour | 3 cups | Use cake flour for a softer texture |
| Baking powder | 3 tsp | |
| Salt | 1/2 tsp | |
| Unsalted butter | 1 1/2 cups | Room temperature |
| Granulated sugar | 2 cups | |
| Eggs | 4 large | Room temperature |
| Milk | 1 cup | Whole milk or buttermilk preferred |
| Vanilla extract | 2 tsp | Add almond or lemon extract for twist |
For variation, divide batter into 2–3 bowls and flavor each one separately (e.g., chocolate, strawberry, lemon).
How to Make the Cupcakes
Let’s walk through each step carefully to make sure your cupcakes come out moist, even, and delicious every time.
Step 1: Prepare Your Tools and Oven
Preheat your oven to 350°F (175°C). Line your muffin tins with cupcake liners. If you’re baking in batches, have extra trays ready.
Tip: Use matching decorative liners to enhance the presentation—especially important for a 3-tier design.
Also, soften your butter by leaving it at room temperature for about 30–45 minutes. Cold butter won’t cream properly and will affect the texture.
Step 2: Cream the Butter and Sugar
In a large mixing bowl, use an electric mixer (stand or handheld) to beat the softened butter on medium speed for about 1–2 minutes until smooth. Then slowly add in the sugar and beat for another 2–3 minutes until light and fluffy.
This step is crucial—it adds air to the mixture, giving your cupcakes that soft, bakery-style texture.
Step 3: Add the Eggs One at a Time
Crack the eggs into a separate bowl to avoid shell fragments. Add them to the butter-sugar mix one at a time, beating well after each addition.
Tip: Use room-temperature eggs—they mix more easily and help your batter emulsify properly.
Add the vanilla extract last and beat until just combined.
Step 4: Combine Dry Ingredients
In a separate medium bowl, whisk together the flour, baking powder, and salt. Sifting is optional but helps avoid clumps.
Step 5: Alternate Mixing Milk and Flour
Begin incorporating the dry ingredients into the wet mixture in three parts, alternating with the milk in two parts. Start and end with the dry mix.
→ Dry → Milk → Dry → Milk → Dry
Mix on low speed just until the flour disappears. Do not overmix, or your cupcakes may turn out tough or dense.
Step 6: Add Colors or Flavors (Optional)
Now’s the time to divide your batter into separate bowls if you want variety. Stir in cocoa powder, strawberry puree, lemon zest, or natural color tints.
For natural pink: Use beet juice or pureed strawberries. For chocolate: Add 2 tbsp cocoa powder per 1 cup of batter.
Step 7: Fill and Bake
Using a spoon or scoop, fill cupcake liners about 2/3 full. This gives them space to rise without spilling over.
Place trays in the center of your oven and bake for 18–22 minutes. Check doneness by inserting a toothpick—if it comes out clean or with a few moist crumbs, they’re done.
Rotate trays halfway through baking for even results.
Step 8: Cool Completely
Let cupcakes cool in the tins for 5 minutes, then transfer to a wire rack.
Important: Cool completely before frosting, or the icing will melt and slide off.
Frosting & Decorating
Choose one or more frosting styles:
- Vanilla buttercream
- Strawberry cream cheese
- Mocha or chocolate ganache
- Lemon glaze
Use a piping bag with a star tip for a professional swirl. Top with sprinkles, edible pearls, fresh fruit, or themed toppers.
For variety, color the frosting or pipe multi-tone swirls.
How to Build the 3-Tier Display
Here’s how to build your elegant display once all your cupcakes are baked and frosted.
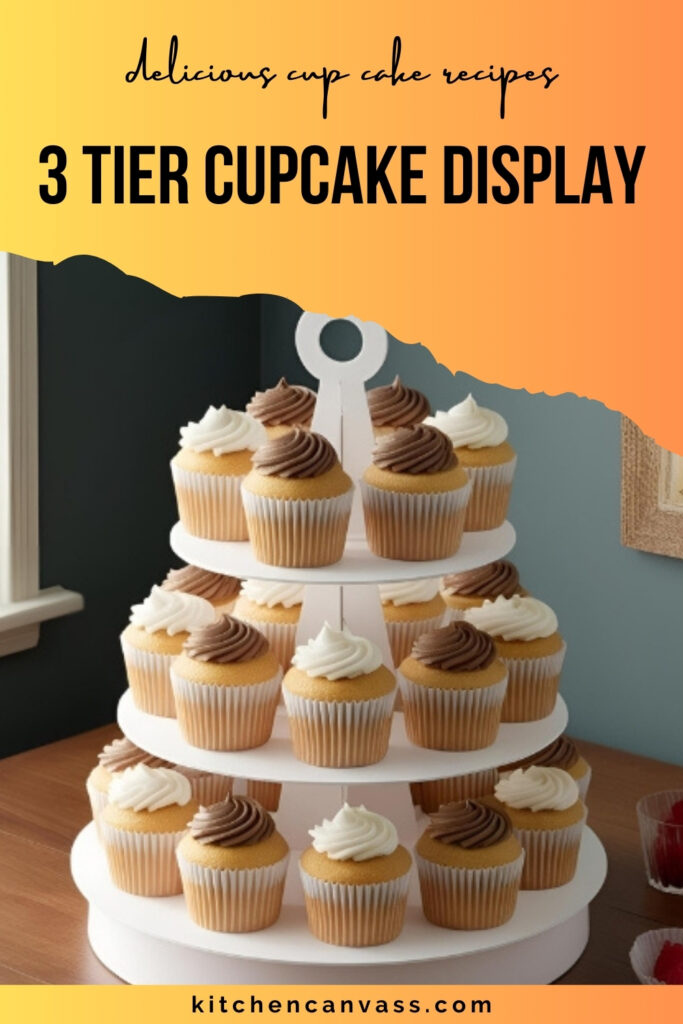
Option 1: Use a Store-Bought 3-Tier Cupcake Stand
Buy or rent a tiered stand made of acrylic, metal, or cardboard.
- Bottom Tier: ~24 cupcakes
- Middle Tier: ~14 cupcakes
- Top Tier: ~8 cupcakes
Place the most decorative cupcakes on the top tier for impact.
Option 2: DIY Your Own Stand
Use cake boards and sturdy cups as risers. Hot glue the cups upside down between boards. Cover boards with foil or wrap in decorative paper.
Make sure the structure is steady before loading your cupcakes.
Background: The History of Tiered Cakes
The idea of multi-tiered cakes originated in 18th-century Europe, particularly at weddings.
Stacked layers symbolized status, wealth, and celebration. Over time, bakers created ornate structures with columns and layers.
Today, cupcakes arranged in tiers provide a modern twist—same dramatic effect, but easier to serve and customize.
Variations to Try
Make your 3-tier display unique with these ideas:
- Ombre: Use fading colors—like light pink to dark pink—from bottom to top.
- Triple Chocolate: Use chocolate base with dark, milk, and white chocolate frostings on each tier.
- Fruity Layers: Lemon cupcakes on bottom, strawberry in the middle, and raspberry on top.
- Baby Shower: Pastel blue, pink, or yellow frosting with alphabet toppers.
- Floral Garden: Decorate each tier with edible flowers or piped rosettes.
Storage & Make-Ahead Tips
| Method | Duration | Notes |
|---|---|---|
| Room Temp | 1–2 days | In an airtight container |
| Refrigerated | 3–4 days | Frosted cupcakes stay fresher |
| Freezer (plain) | 2 months | Wrap in plastic, frost after thawing |
Frost on the day of serving for best texture and appearance.
Common Mistakes to Avoid
| Issue | Cause | Fix |
|---|---|---|
| Dense cupcakes | Overmixed or cold ingredients | Use room temp, mix gently |
| Sunken tops | Overfilled or underbaked | Fill 2/3 full, check doneness early |
| Melting frosting | Warm cupcakes or warm room | Cool fully before frosting |
| Tiers wobble | Weak structure | Use firm stands or DIY securely |
Final Thoughts
A 3-tier cupcake display combines charm, variety, and a touch of luxury. With a little creativity and these detailed steps, you can craft an unforgettable centerpiece for birthdays, weddings, baby showers, and more.
Stack it tall, decorate it beautifully, and let your cupcakes shine!