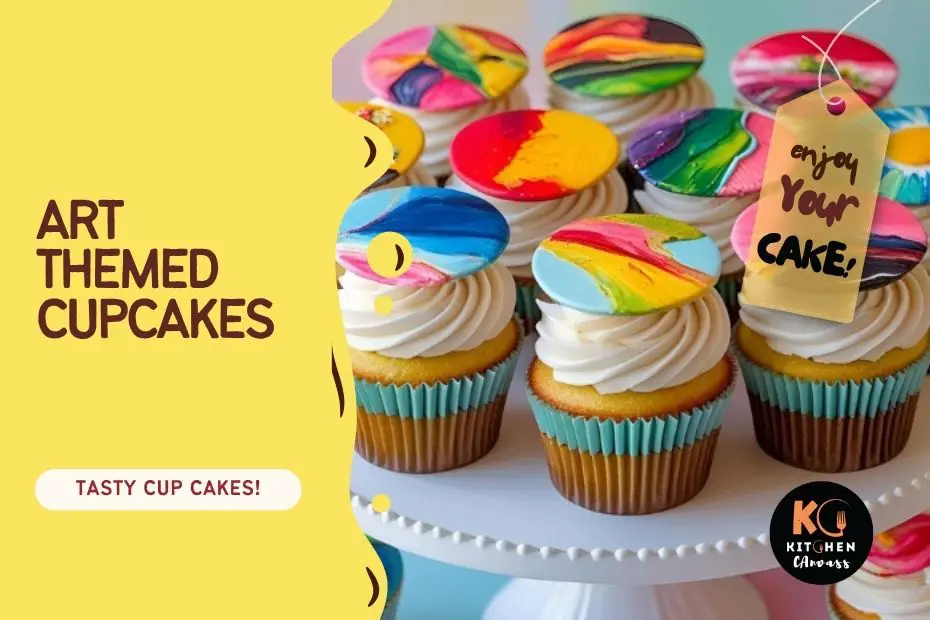
Art-Themed Cupcakes for Creative Occasions
You ever see cupcakes so pretty you almost don’t want to eat them? Yeah, that’s what we’re making today.
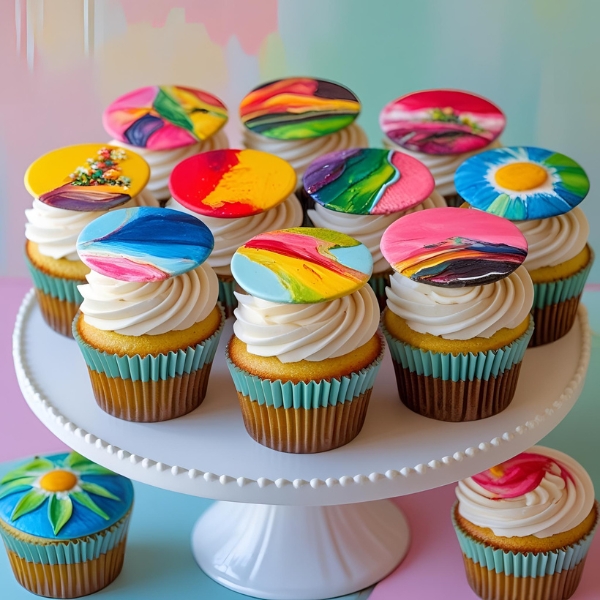
These art-themed cupcakes are like edible canvases—each one is a bite-sized masterpiece. Whether you’re throwing a painting party, hosting a gallery night, or just letting your inner artist out in the kitchen, these are fun to bake and fun to decorate.
We’ll start with a soft, buttery vanilla base (trust me, it’s foolproof), whip up some colorful buttercream, and then go wild with brushes, splatters, swirls, and all the creative chaos you can dream up.
And honestly? Even if you’re not the artsy type, once you get a piping bag in hand, you’ll start feeling like Picasso with frosting.
Prep and Baking Info
| Prep Time | Cook Time | Total Time | Servings | Course | Cuisine |
|---|---|---|---|---|---|
| 10 mins | 20 mins | 30 mins | 12 | Dessert | American |
Ingredients
| Ingredient | Quantity (12 cupcakes) | Quantity (24 cupcakes) | Quantity (6 cupcakes) | Alternatives |
|---|---|---|---|---|
| All-purpose flour | 1 ½ cups | 3 cups | ¾ cup | Gluten-free flour blend |
| Baking powder | 1 ½ tsp | 3 tsp | ¾ tsp | – |
| Salt | ¼ tsp | ½ tsp | ⅛ tsp | – |
| Unsalted butter | ½ cup (softened) | 1 cup | ¼ cup | Margarine or vegan butter |
| Granulated sugar | ¾ cup | 1 ½ cups | ⅓ cup | Coconut sugar |
| Eggs | 2 large | 4 large | 1 large | Flax eggs (for vegan) |
| Vanilla extract | 1 ½ tsp | 3 tsp | ¾ tsp | Almond extract |
| Whole milk | ½ cup | 1 cup | ¼ cup | Oat or almond milk |
Buttercream Frosting
| Ingredient | Quantity (for 12 cupcakes) | Alternatives |
|---|---|---|
| Unsalted butter | 1 cup (softened) | Vegan butter |
| Powdered sugar | 2 ½ cups | Sifted maple sugar |
| Vanilla extract | 1 tsp | Lemon or almond extract |
| Heavy cream or milk | 1–2 tbsp | Coconut cream or plant milk |
| Gel food coloring | Various colors | Natural food powders |
Tools You’ll Need
| Tool | Alternatives |
|---|---|
| Mixing bowls | Any clean medium/large containers |
| Hand or stand mixer | Whisk (manual, more effort) |
| Measuring cups/spoons | Digital scale for precision |
| Muffin tin + liners | Silicone molds |
| Piping bags & tips | Ziplock bags with cut corner |
| Paintbrushes (food-safe) | Small spatulas or toothpicks |
Let’s Begin the Baking: How to Make Art-Themed Cupcakes
Before anything else, bring your ingredients to room temperature. This helps everything blend more smoothly and gives you that fluffy cupcake texture.
Step 1: Preheat & Line
Preheat the oven to 350°F (175°C). Line your muffin tin with cupcake liners or lightly grease each cup.
Step 2: Dry Ingredients
Whisk together your flour, baking powder, and salt in a bowl. Set aside.
Step 3: Cream the Butter and Sugar
In a separate bowl, beat the butter and sugar until light and fluffy. You want a creamy texture here — it sets the stage for a soft cupcake.
Step 4: Add Eggs and Vanilla
Beat in the eggs one at a time. Then stir in the vanilla extract.
Step 5: Combine with Milk and Dry Mix
Add the dry mix in parts, alternating with the milk. Stir until just combined — don’t overdo it.
Step 6: Fill and Bake
Scoop batter into cupcake liners (¾ full). Bake 16–18 minutes. Check with a toothpick — if it comes out clean, you’re good.
Let the cupcakes cool completely before you decorate.
Decorating: Turning Cupcakes into Mini Art Pieces
Step 1: Whip the Frosting
Beat the butter until smooth. Add powdered sugar gradually, then the vanilla and cream. Whip until fluffy and pipeable.
Step 2: Color the Frosting
Divide the frosting into bowls and add your colors. Stick to a theme or go full rainbow — up to you.
Step 3: Apply Your Design
- Palette Knife Swipes
- Splatter Painting
- Piping Doodles
- Layered Color Blobs
Have fun. There’s no wrong way to decorate here.
Variations to Try
- Rainbow Swirl Cupcakes: Divide the batter, tint each batch, then layer into liners.
- Chocolate Canvas: Use chocolate cupcakes and top with white frosting + color for contrast.
- Metallic Brushstrokes: Add edible glitter or metallic dust for a luxe touch.
Try mixing piping and painting techniques for wild, eye-catching results.
Storing Tips
- Room Temp: Airtight container, 1–2 days.
- Fridge: 4–5 days, but let them come to room temp before serving.
- Freezer: Freeze unfrosted cupcakes for 1–2 months, thaw and decorate fresh.
Common Mistakes & Fixes
| Mistake | Cause | Fix |
|---|---|---|
| Cupcakes too dense | Overmixed batter | Mix gently, just until combined |
| Frosting melts/slides | Cupcakes too warm | Let them cool completely first |
| Dull frosting colors | Used liquid coloring | Use gel colors for vibrancy |
| Flat cupcakes | Expired baking powder | Use fresh leavening agents |
FAQs
Q: Can I make the batter ahead of time?
I suggest baking it fresh. But you can refrigerate the batter for a few hours — just don’t overmix again when scooping.
Q: Can I use store-bought frosting?
Sure! But make sure it’s thick enough to hold shape if you’re piping or painting with it.
Q: What if I don’t have gel coloring?
Try natural food coloring powders (like beet or spirulina), but the hues will be more muted.
Q: Can these be made gluten-free or vegan?
Yes — just swap flour, butter, and eggs for your preferred alternatives (noted above). Texture may vary a bit.
Q: Do I need piping bags to decorate?
Not at all. A spoon, butter knife, or even a clean paintbrush will do.
Let’s Bake and Paint!
These cupcakes aren’t just dessert—they’re edible art. Whether you’re 8 or 80, playing with frosting and color is straight-up joy. So go wild, get messy, and show off your creations. And hey, if you accidentally eat five in one sitting… I won’t tell.