How to Make Chocolate Drip for Cakes: Easy Step-by-Step Guide
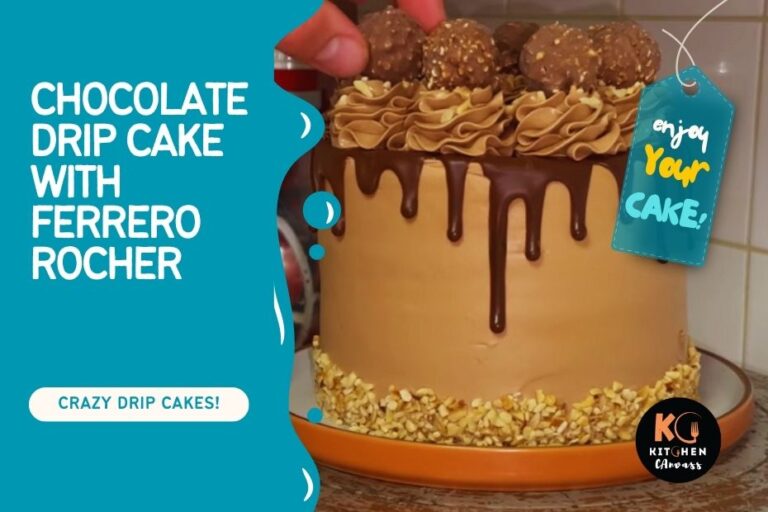
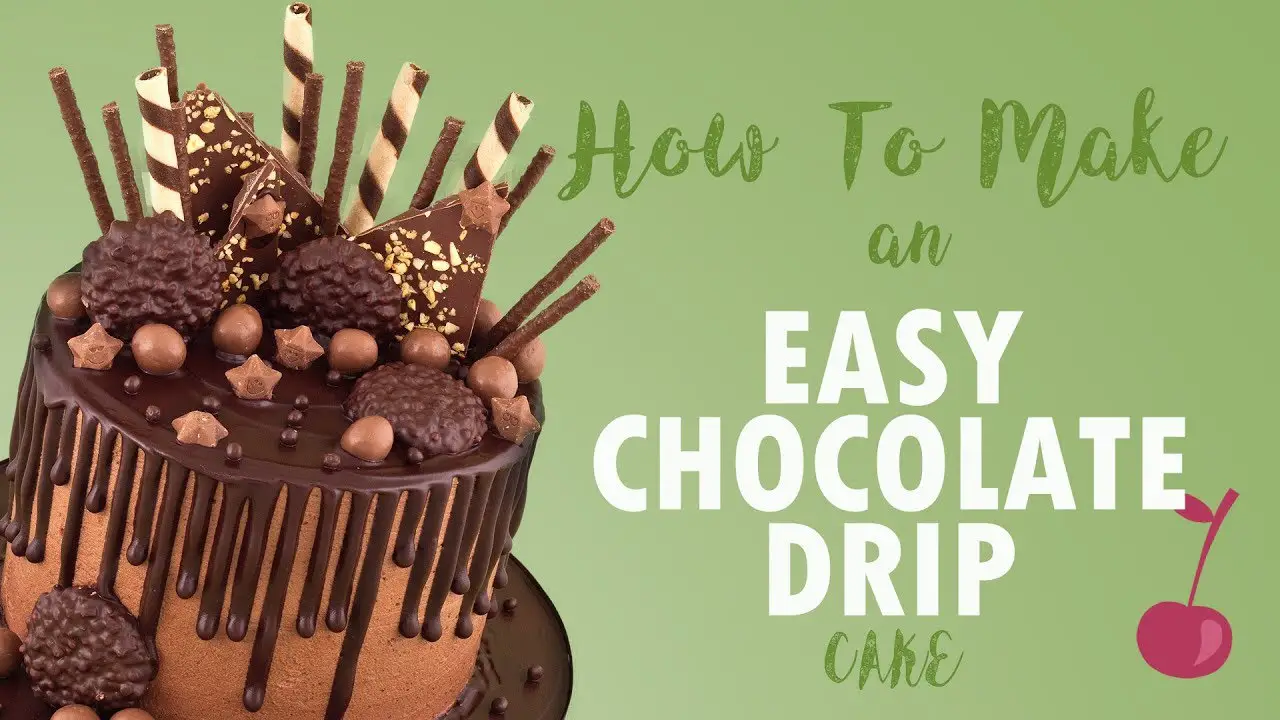
Making a cake look beautiful is almost as important as the taste. One of the most popular ways to decorate cakes today is with a chocolate drip. This shiny, smooth chocolate topping flows down the sides, making any cake look professional. You don’t have to be a pastry chef to create this effect at home. With the right ingredients and some helpful tips, you can master the chocolate drip for cakes and impress your friends and family.
What Is Chocolate Drip?
A chocolate drip is a glossy, thin layer of chocolate or ganache poured over the top of a cake. It flows gently down the edges, creating beautiful lines or “drips.” Most people use it for special occasions like birthdays and weddings, but it works for any cake. The secret is getting the right consistency—too thick and it clumps, too thin and it runs everywhere.
Essential Ingredients For Chocolate Drip
You only need a few simple ingredients to make a classic chocolate drip:
- Chocolate: Choose high-quality semi-sweet or dark chocolate. Milk chocolate can also work.
- Heavy cream: This gives the drip its silky texture.
- Butter (optional): Adds shine and a softer finish.
- Flavoring (optional): Vanilla or coffee can enhance the taste.
Here’s a simple ratio that works for most cakes:
| Chocolate Type | Chocolate Amount | Cream Amount |
|---|---|---|
| Semi-sweet/Dark | 100g (about 2/3 cup chips or chopped) | 60ml (1/4 cup) |
| Milk Chocolate | 100g | 40ml (about 2.5 tbsp) |
| White Chocolate | 100g | 30ml (2 tbsp) |
Non-obvious insight: White chocolate needs less cream because it melts faster and is softer. Using too much cream makes it runny.
Credit: www.youtube.com
Step-by-step Guide To Making Chocolate Drip
Follow these steps for a smooth, shiny drip every time.
1. Prepare The Cake
Make sure your cake is fully chilled. A cold cake helps the chocolate set quickly. If the cake is warm, the drip will melt and run off. You can freeze the cake for 30 minutes before starting.
2. Heat The Cream
Pour the cream into a small saucepan. Heat it until it just begins to simmer—not boiling. Tiny bubbles should form around the edges. Boiling can burn the cream.
3. Melt The Chocolate
Place your chopped chocolate or chips in a heat-proof bowl. Pour the hot cream over the chocolate. Let it sit for one minute. This melts the chocolate without burning it.
4. Mix Until Smooth
Use a spatula or whisk to stir the mixture gently. Start in the center and work your way out. Stir until the chocolate is fully melted and the ganache is shiny. Add a teaspoon of butter for extra gloss if you like.
5. Cool To The Right Consistency
Let the ganache cool at room temperature for 5-10 minutes. It should be warm and pourable but not hot. Test a small drip on the side of a bowl. If it runs too fast, let it cool longer. If it’s too thick, microwave for 5 seconds and stir.
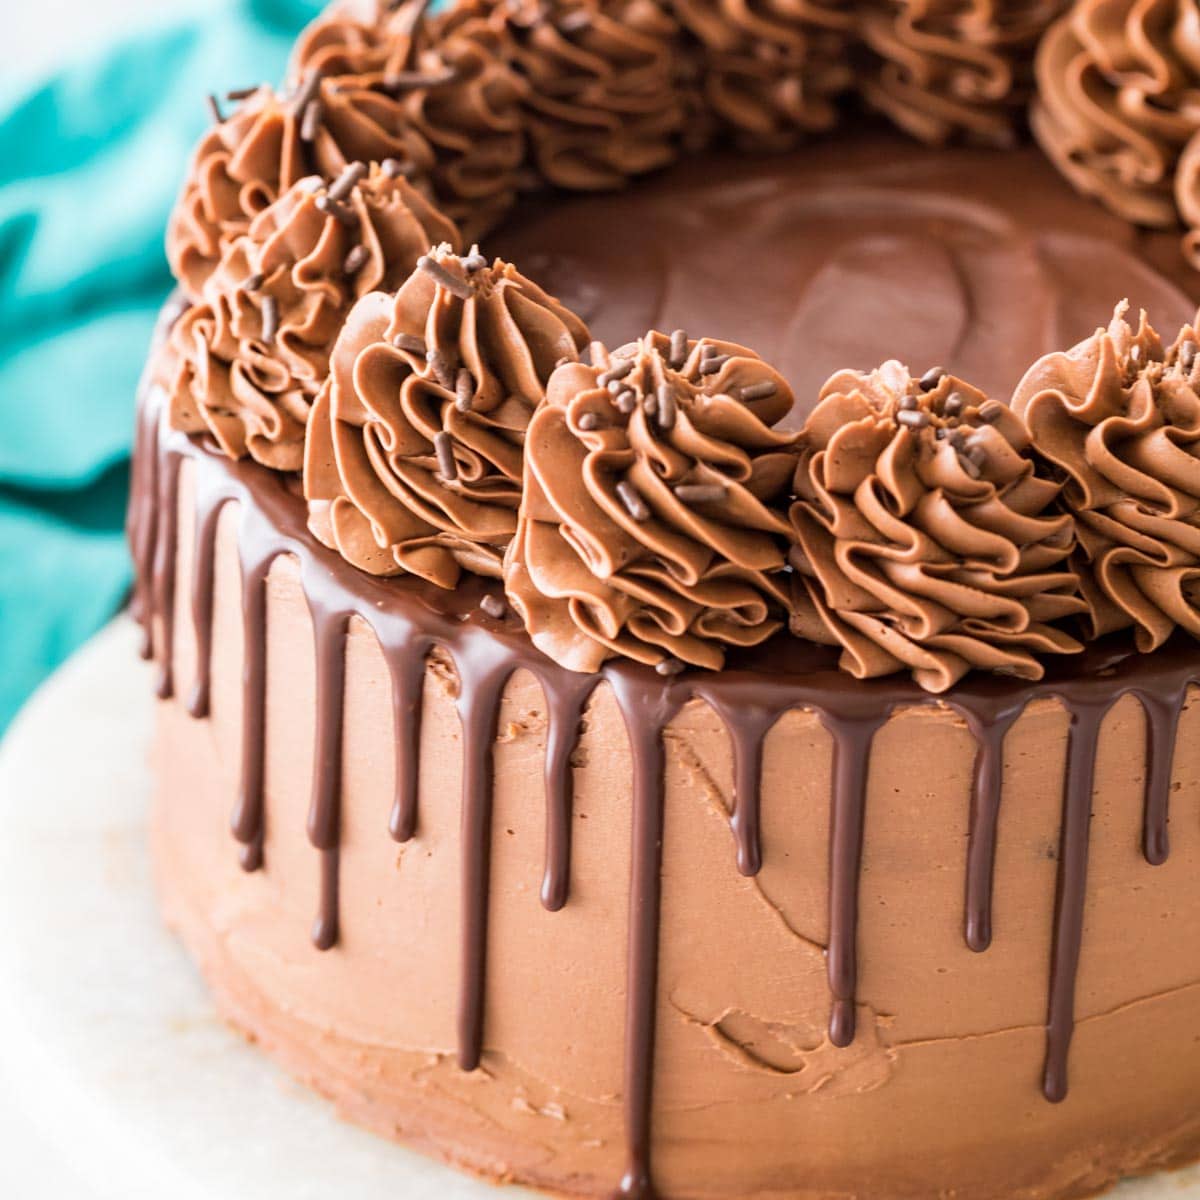
6. Apply The Drip
Use a spoon, piping bag, or squeeze bottle. Start at the edge of the cake. Gently pour or squeeze a small amount and let it flow down. Move around the cake, making drips as long or short as you want.
After the edges, fill in the center of the cake and spread gently. Avoid overworking, as this can mix in crumbs and ruin the shine.
Beginner tip: Practice on the back of the cake first. The front will be seen the most.
Troubleshooting Common Problems
Even experienced bakers run into issues with chocolate drip. Here’s how to fix the most common ones:
| Problem | Cause | Solution |
|---|---|---|
| Drip too thick | Not enough cream | Warm the ganache or add 1 tsp hot cream |
| Drip runs off cake | Too much cream or cake is warm | Let ganache cool or chill cake longer |
| Not shiny | Overmixing or too cool | Add a bit of butter or warm slightly |
| Lumpy drip | Chocolate not fully melted | Strain the mixture or reheat gently |

Credit: sugargeekshow.com
Creative Variations
You can make your chocolate drip unique by changing the recipe:
- Colored Drip: Use white chocolate and add gel food color after melting.
- Flavored Drip: Add a drop of orange, mint, or almond extract.
- Vegan Drip: Use coconut cream instead of heavy cream and dairy-free chocolate.
- Glitter Drip: Sprinkle edible glitter while the drip is still wet.
Non-obvious insight: Always use oil-based food coloring for chocolate. Water-based colors can seize the chocolate.
Practical Tips For Perfect Results
- Weigh your ingredients. Small mistakes in the cream or chocolate amount can change the texture.
- Work quickly. Ganache sets fast, especially on a cold cake.
- Use a turntable. This makes it easy to spin the cake and apply even drips.
- Avoid water. Even a drop can make chocolate seize and turn grainy.
Credit: sugarspunrun.com
When To Add The Drip
Timing matters. Add the chocolate drip after the cake is frosted and chilled. Buttercream or ganache frostings work best. Whipped cream is too soft and may melt under the chocolate.
Storing A Chocolate Drip Cake
A finished cake can be stored in the fridge for up to 3 days. The drip will stay shiny and firm. Bring the cake to room temperature before serving for the best flavor.
If you want more details on chocolate types and melting, check this Craftsy guide.
Frequently Asked Questions
How Do I Fix A Drip That Is Too Runny?
Let the ganache cool for a few more minutes. If it’s still too thin, add a bit more melted chocolate and stir well.
Can I Use Chocolate Syrup Instead Of Ganache?
No. Chocolate syrup is too thin and will not set. It will slide off the cake and create a mess.
Is It Possible To Make A Drip Without Cream?
Yes. You can use coconut cream, condensed milk, or even water with a bit of butter, but the texture and taste will change.
How Do I Make The Drips Even Around The Cake?
Use a piping bag with a small tip for control. Apply the same amount of ganache at each spot and let gravity do the work.
Can I Freeze A Cake With Chocolate Drip?
Yes, but wrap it well to prevent moisture. Thaw in the fridge, not at room temperature, to avoid condensation on the chocolate.
Creating a beautiful chocolate drip is easier than it looks. With the right ingredients and careful steps, your cake will have a stunning finish that tastes as good as it looks. Experiment with flavors and colors, and soon you’ll have your own signature style. Enjoy making your cakes shine!