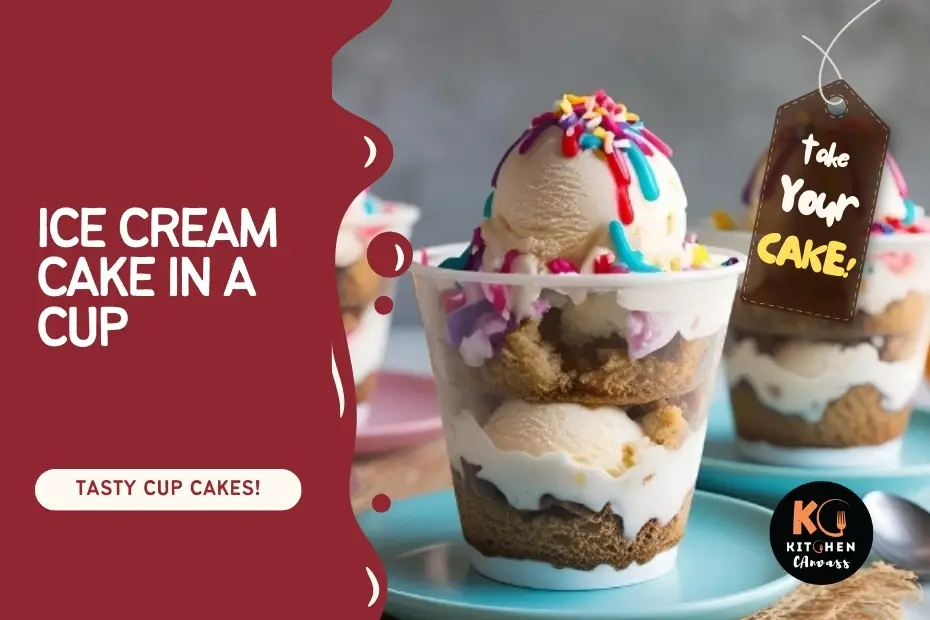
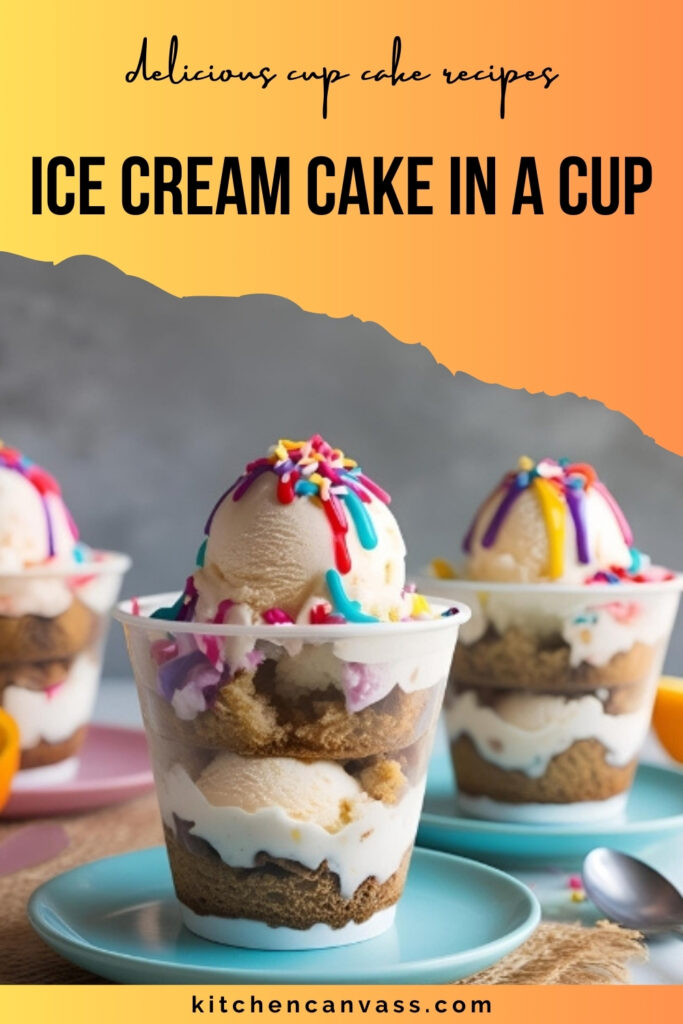
Ice Cream Cake in a Cup Recipe
Looking for a no-fuss dessert that blends creamy indulgence with the charm of individual servings?
Ice cream cake in a cup is exactly that—rich layers of crushed cake, smooth ice cream, and sweet toppings all stacked neatly in single-serving cups. This no-bake treat is perfect for hot weather, parties, or a make-ahead dessert.
No oven needed—this cake is assembled and frozen instead of baked. You’ll just need to prepare ingredients, layer thoughtfully, and freeze until ready to serve.
Overview
- Prep Time: 20 minutes
- Freeze Time: 2–4 hours
- Total Time: 2 hours 20 minutes (minimum)
- Servings: 4 to 8
Ingredients List
| Ingredient | 4 Servings | 6 Servings | 8 Servings | Notes/Alternatives |
|---|---|---|---|---|
| Chocolate or vanilla cake | 1.5 cups crumbled | 2.5 cups crumbled | 3.5 cups crumbled | Use leftover or store-bought cake |
| Ice cream (any flavor) | 2 cups softened | 3 cups softened | 4 cups softened | Vanilla, chocolate, or strawberry |
| Whipped topping | 1 cup | 1.5 cups | 2 cups | Optional but adds nice creaminess |
| Chocolate syrup | 4 tbsp | 6 tbsp | 8 tbsp | Can use caramel or strawberry sauce |
| Crushed nuts or sprinkles | 4 tbsp | 6 tbsp | 8 tbsp | Optional for topping |
| Maraschino cherries | 4 pieces | 6 pieces | 8 pieces | For garnish |
Tools You’ll Need
| Item | Alternative |
|---|---|
| Clear plastic or glass cups | Any small dessert cups (8–10 oz) |
| Ice cream scoop | Regular spoon works fine |
| Small spoon or spatula | For layering and spreading |
| Freezer-safe tray | To hold cups while freezing |
| Plastic wrap or lids | To cover while freezing |
How to Make Ice Cream Cake in a Cup
Start by gathering all your ingredients and tools. Ensure your ice cream is softened just enough for easy scooping and spreading. Choose clear cups if you want the dessert layers to be visible for presentation.
Step 1: Prepare the Cake Base
Crumble your cake (vanilla, chocolate, or even sponge) into small chunks. These will be used as the base and middle layers of your ice cream cake. Ensure the texture is light and not too moist. Set aside in a bowl.
If you’re using leftover cake, break it apart gently by hand. If using freshly baked cake, let it cool completely before crumbling.
Step 2: Layer the First Cake Base
Place 2–3 tablespoons of cake crumbs into the bottom of each cup. Gently press down with a spoon to flatten and form a solid base.
You want this layer to be packed just enough to support the ice cream above but not compressed too much—think soft foundation.
Step 3: Add the Ice Cream Layer
Scoop about ¼ cup of softened ice cream and spread it over the cake base. Use a small spoon to press the ice cream evenly across the surface.
Be sure the ice cream touches the edges for a clean visible layer when viewed through the cup. Don’t rush; smoothness makes a difference in presentation.
Step 4: Drizzle Sauce and Add Crunch
Drizzle a tablespoon of chocolate syrup (or any topping of choice) over the ice cream. Add a light sprinkle of crushed nuts or sprinkles if desired.
This layer adds a burst of flavor and texture that breaks up the smoothness of the cake and cream.
Step 5: Repeat the Layers
Add another layer of cake crumbs, followed by more ice cream, and repeat the drizzle. You can do 2–3 layers depending on cup size.
Finish with a final spread of whipped topping on top. Smooth it out or create swirls for a decorative finish.
Step 6: Garnish and Freeze
Top with a maraschino cherry and a few extra sprinkles or nuts. Cover each cup with plastic wrap or snap-on lids and place in the freezer.
Freeze for at least 2 hours to let the layers firm up and the flavors meld. For a firmer texture, freeze for 4 hours or overnight.
Serving and Decoration Tips
- Serve directly from the freezer. Let sit at room temp for 2–3 minutes before eating to soften slightly.
- Top with grated chocolate or mini cookies just before serving.
- For an elegant look, use small glass tumblers and serve with dessert spoons.
Flavor Variations to Try
Want to experiment with different styles of this recipe? Here are a few exciting twists, including how to adjust the basic method:
Vanilla Strawberry Version
: Use vanilla cake and strawberry ice cream. Add a thin layer of strawberry preserves between layers instead of chocolate syrup.
Cookies & Cream Delight
: Use crushed Oreo cookies as the base instead of cake. Layer with cookies & cream ice cream and drizzle white chocolate sauce.
Mint Chocolate Chip
: Use chocolate cake as base, mint chip ice cream in the center, and drizzle with chocolate fudge.
Tropical Style
: Use sponge cake, mango or coconut ice cream, and garnish with toasted coconut flakes and diced pineapple between layers.
Storage Tips
- Store tightly wrapped in the freezer for up to 5 days.
- Do not refreeze once thawed—make smaller batches if unsure.
- Use hard plastic or glass containers with lids to avoid freezer burn.
Common Mistakes and Solutions
| Mistake | Problem | How to Fix |
|---|---|---|
| Ice cream too hard to layer | Rough, uneven layers | Let it soften slightly before layering |
| Cup too small | Overflow and messy layers | Use 8–10 oz cups for best results |
| Layers not distinct | Muddy presentation | Spread evenly, press cake layers well |
| Freezing uncovered | Ice crystals and flavor loss | Always cover with wrap or lids |
More Ideas Based on This Recipe
Mini Ice Cream Sandwich Cups
: Use two cookies instead of cake as the bottom and middle layer. Add ice cream in between, and press gently before freezing.
Birthday Cake Ice Cream Cups
: Add rainbow sprinkles to each layer and top with a small candle for festive occasions.
Chocolate Shell Topped Cups
: Pour melted chocolate over the top whipped cream layer and freeze—it’ll form a crisp shell!
Ice cream cake in a cup is one of those desserts that looks fancy but is incredibly easy to make.
Whether you go classic or adventurous with flavors, you’re sure to impress your guests—or yourself. Try your version and let us know how it turns out!
Would you like a printable recipe card or nutrition breakdown for this one?