Peanut Butter Cup Dump Cake Recipe for You!
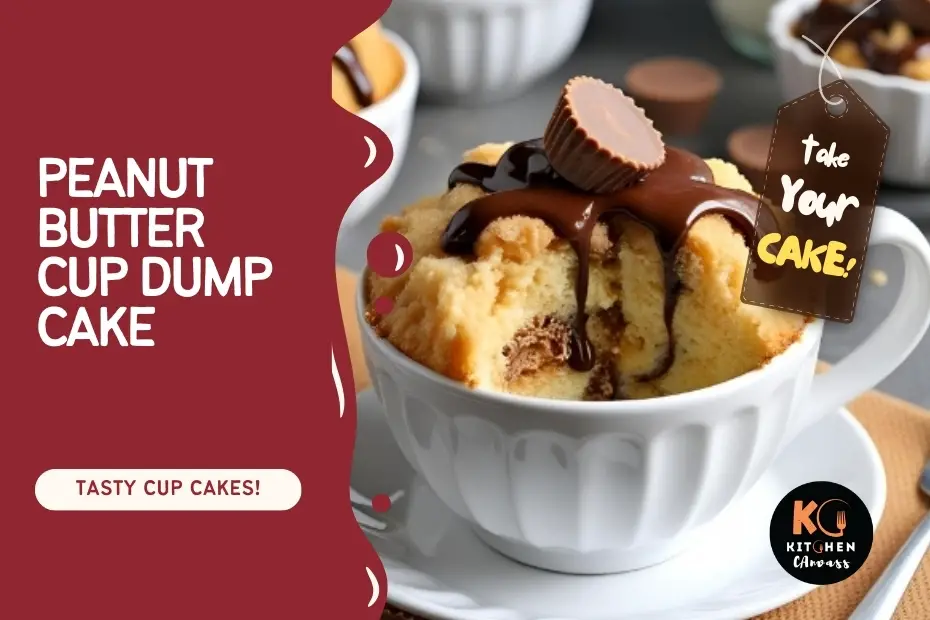
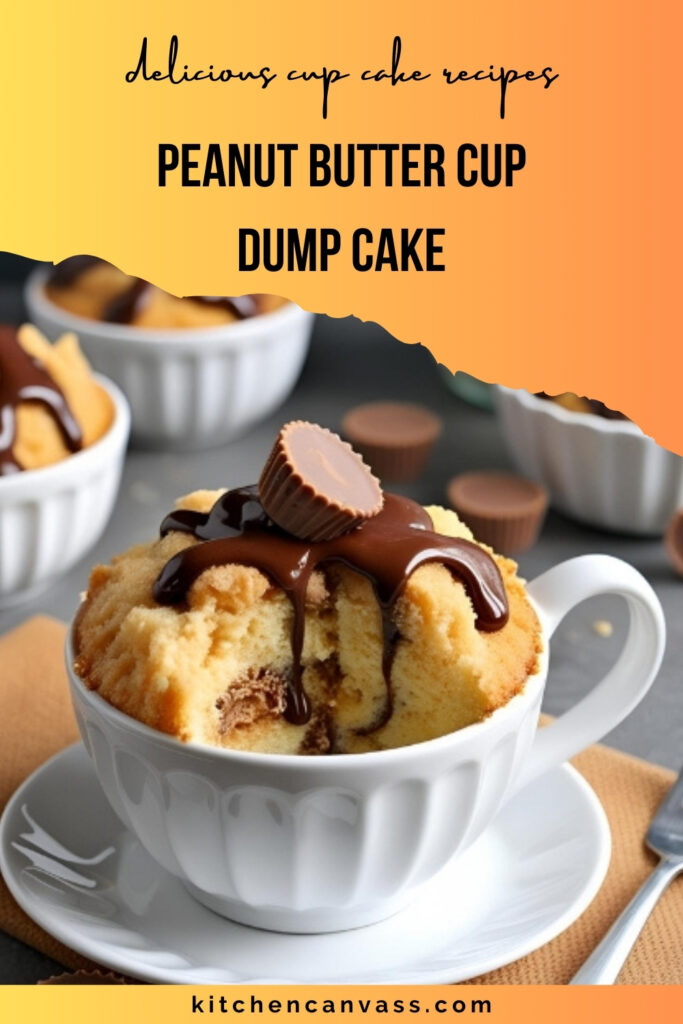
Peanut butter cup dump cake is the kind of no-fuss dessert that brings major flavor without a mountain of prep work.
Just like the name says, you “dump” the ingredients into your baking dish, bake it, and enjoy.
With layers of chocolate cake mix, creamy peanut butter, and chopped peanut butter cups, this recipe delivers an irresistible combo of sweet and salty in every bite.
Let’s dig into how to make this rich, gooey dessert from scratch—with all the right info to get it perfect on your first try.
Ingredients You’ll Need
This cake can be made for 4, 6, or 8 people. Adjust the ingredients as per your crowd.
| Ingredient | For 4 People | For 6 People | For 8 People | Alternatives |
|---|---|---|---|---|
| Chocolate cake mix | 1 box (15.25 oz) | 1 box (15.25 oz) | 2 boxes | Any boxed chocolate mix |
| Mini peanut butter cups | 1 cup | 1 ½ cups | 2 cups | Chopped chocolate + peanut butter |
| Creamy peanut butter | ½ cup | ¾ cup | 1 cup | Almond butter or sunflower butter |
| Evaporated milk | ½ cup | ¾ cup | 1 cup | Whole milk with 1 tbsp cream |
| Butter (melted) | ¼ cup | ½ cup | ¾ cup | Margarine or coconut oil |
| Semi-sweet chocolate chips | ½ cup | ¾ cup | 1 cup | Milk or dark chocolate chips |
Cooking Tools You’ll Need
Here’s a quick list of kitchen tools. Optional items are marked if alternatives exist.
| Item | Purpose | Alternative |
|---|---|---|
| 9×9 or 9×13 baking dish | For layering and baking | Cast iron skillet or oven-safe tray |
| Mixing bowl (optional) | For combining optional layers | Mix directly in dish |
| Measuring cups & spoons | Accuracy | Estimation (less reliable) |
| Microwave-safe bowl | To melt butter and peanut butter | Saucepan |
| Oven | For baking | Toaster oven (if dish fits) |
| Spatula or spoon | Spreading peanut butter | Butter knife |
Let’s Make Peanut Butter Cup Dump Cake
This is a one-pan, layered dessert that comes together easily with minimal cleanup.
Follow these steps to make your peanut butter cup dump cake rich, gooey, and irresistibly satisfying.
Step 1: Preheat the Oven
Start by preheating your oven to 350°F (175°C). This ensures the cake bakes evenly from the start.
Step 2: Grease the Baking Dish
Lightly grease a 9×13 inch baking dish with butter or non-stick spray. This prevents sticking and makes cleanup easier.
Step 3: Layer the Peanut Butter Cups
Unwrap the peanut butter cups and place them evenly across the bottom of the baking dish. Make sure they are spaced out for an even peanut butter flavor in every bite.
Step 4: Add Chocolate Cake Mix
Sprinkle the dry chocolate cake mix evenly over the peanut butter cups. Do not stir—just let the mix sit on top.
Step 5: Pour the Melted Butter
Evenly drizzle melted butter over the dry cake mix. Try to cover as much surface area as possible to avoid dry spots.
Step 6: Add Peanut Butter and Chocolate Chips (Optional)
For extra richness, sprinkle peanut butter chips and chocolate chips on top.
Step 7: Bake
Place the baking dish in the oven and bake for 35–40 minutes, or until the top is set and bubbling around the edges.
Step 8: Cool Before Serving
Let the cake cool for at least 10–15 minutes so it can set slightly before serving.
Presentation and Serving Tips
- Scoop and serve warm with a spoon.
- Add a scoop of vanilla ice cream or whipped cream on top.
- Drizzle with warm fudge or more melted peanut butter if you’re feeling extra.
Fun Variations to Try
- Use a brownie mix instead of cake mix for a fudgier texture.
- Swap peanut butter cups for chopped candy bars (Snickers or Twix work well).
- Add crushed pretzels between layers for a salty crunch.
- Mix in chopped bananas for a PB+choco+banana combo.
How to Store Leftovers
| Storage Method | Duration | Instructions |
|---|---|---|
| Room Temperature | Up to 2 days | Keep covered in an airtight container. |
| Refrigerator | Up to 5 days | Store in a covered container. |
| Freezer | Up to 3 months | Wrap tightly and freeze. Thaw overnight. |
Reheat individual portions in the microwave for 20–30 seconds.
Extra Tips for Success
- Warm your peanut butter before layering—it spreads easier.
- Don’t press the dry cake mix down—let the liquids seep naturally.
- Add a pinch of salt over the top to balance the sweetness.
- Use parchment under the dish if it bubbles over in the oven.
Common Mistakes & How to Avoid Them
| Mistake | Problem Caused | Solution/Prevention |
|---|---|---|
| Overbaking | Cake becomes dry and tough | Check at 35 mins; remove when top sets |
| Not spreading butter evenly | Dry patches in topping | Use a spoon to drizzle or spray lightly |
| Using natural PB (too oily) | Separation and sogginess | Use stabilized peanut butter |
| Stirring the layers | Disrupted textures | Just layer and bake—no stirring needed |
| Wrong pan size | Uneven baking | Use a 9×9 for thick, 9×13 for thinner |
Peanut butter cup dump cake is one of those desserts that turns pantry basics into something seriously craveable. It’s quick, customizable, and always a hit.
Try it at home, and let us know in the comments how yours turned out!


