Tiramisu Chocolate Balls Recipe

Tiramisu chocolate balls are a no-bake dessert that transforms the classic tiramisu flavors into delightful, bite-sized treats.
These hand-rolled sweets combine crushed cookies or cake crumbs, smooth mascarpone, cocoa, and coffee to mimic the creamy richness of traditional tiramisu—just in portable form.
Perfect for snacking or entertaining, these balls require no oven, minimal effort, and chill beautifully for make-ahead convenience.
You can roll them in cocoa powder, coat them in melted chocolate, or dust them with crushed nuts depending on your style and preference.
No layering or plating necessary—just mix, roll, chill, and serve!

Prep Time Overview
| Prep Time | Cook Time | Additional Time | Total Time | Course | Cuisine | Servings |
|---|---|---|---|---|---|---|
| 20 minutes | 0 minutes | 1 hour (chill) | 1 hour 20 minutes | Dessert/Snack | Italian-inspired | 18–24 balls |
Ingredients List
| Ingredient | 18 Balls | 24 Balls | Alternatives |
|---|---|---|---|
| Mascarpone cheese | 6 oz | 8 oz | Or: Cream cheese (softened) |
| Crushed ladyfingers or vanilla wafers | 1 1/2 cups | 2 cups | Or: Sponge cake crumbs |
| Instant coffee (dissolved in hot water) | 1 tsp | 1 1/2 tsp | Or: Espresso powder |
| Powdered sugar | 1/4 cup | 1/3 cup | Or: Maple syrup |
| Unsweetened cocoa powder (for mixing) | 2 tbsp | 3 tbsp | Or: Melted dark chocolate |
| Cocoa powder or chocolate (for coating) | As needed | As needed | Or: Chopped nuts, coconut flakes |
Tools Needed (with Alternatives and Usage)
- Mixing bowl (or any large bowl) – for combining the dough.
- Spatula or spoon (or clean hands) – for stirring and mixing ingredients.
- Measuring cups (or digital scale) – for accurate proportions.
- Tray or plate (or parchment-lined sheet) – for placing shaped balls before chilling.
- Sieve – optional, for dusting with cocoa evenly.
How to Make Tiramisu Chocolate Balls
Ready to create a batch of these creamy, chocolate-kissed bites? Follow the steps below:
Step 1: Combine Mascarpone, Coffee & Sugar
In a large bowl, blend together mascarpone, powdered sugar, and dissolved coffee. Mix until creamy and lump-free.
Step 2: Fold in Crumbs and Cocoa
Add in the crushed cookies and sifted cocoa powder. Stir until everything is well combined and forms a soft dough.
Step 3: Chill to Set
Cover the bowl and refrigerate the dough for at least 30 minutes. This firms up the mixture and makes it easier to roll.
Step 4: Roll Into Balls
Scoop out portions (1 tablespoon each) and roll into smooth balls. Set them on a tray or lined plate.
Step 5: Coat & Chill Again
Roll each ball in cocoa powder or dip in melted chocolate. Return to fridge for another 30 minutes before serving.
How to Convert Into Tiramisu Bars
If you want to turn this recipe into tiramisu bars instead of balls:
- Line an 8×8 pan with parchment paper.
- Press the dough mixture evenly into the pan.
- Smooth the top and chill for 1–2 hours until set.
- Dust with cocoa powder, then slice into bars.
This method makes them ideal for party platters or stacked dessert boxes.
Variations to Try
Here are some exciting flavor ideas to customize your tiramisu chocolate balls:
Classic Vanilla Cream
Skip cocoa in the base and add a dash of vanilla extract for a creamy vanilla-forward twist.
Mocha Espresso
Use dark melted chocolate instead of cocoa and increase the coffee for a rich mocha taste.
Coconut Almond Crunch
Fold in shredded coconut and chopped toasted almonds. Roll in coconut flakes for coating.
Hazelnut Spread
Add a spoonful of hazelnut chocolate spread into the dough for added creaminess and flavor.
Vegan Tiramisu Balls
Use plant-based cream cheese and cookies, and swap the sweetener with maple syrup or agave.
Storing Tips
- Store in an airtight container in the refrigerator up to 5 days.
- Freeze up to 1 month. Thaw in fridge before serving.
- Avoid keeping them at room temperature for too long.
Extra Tips
- If dough is sticky, chill longer or add more cookie crumbs.
- Use gloves for mess-free rolling.
- Roll in toppings just before serving to keep coatings fresh.
- For even texture, sift cocoa powder before mixing or dusting.
Common Mistakes, Fixes, and Prevention
| Mistake | Fix | Prevention |
|---|---|---|
| Mixture too soft | Add more crumbs and chill longer | Use full-fat mascarpone, measure carefully |
| Coating doesn’t stick | Slightly moisten surface or dip in melted chocolate first | Roll before mixture dries out |
| Crumbly texture | Add more mascarpone or a splash of cream | Mix thoroughly until dough holds together |
FAQs
Ladyfingers are traditional, but vanilla wafers, shortbread, or digestive biscuits all work well.
Can I make these without any cocoa?
Yes! You can flavor them with vanilla or use white chocolate instead of cocoa.
Are they gluten-free?
Only if you use certified gluten-free cookies or cake crumbs.
Can I make them dairy-free?
Yes, use dairy-free cream cheese and plant-based cookies.
How do I store extras for later?
Refrigerate in a sealed container or freeze for up to one month.
Tiramisu Chocolate Balls
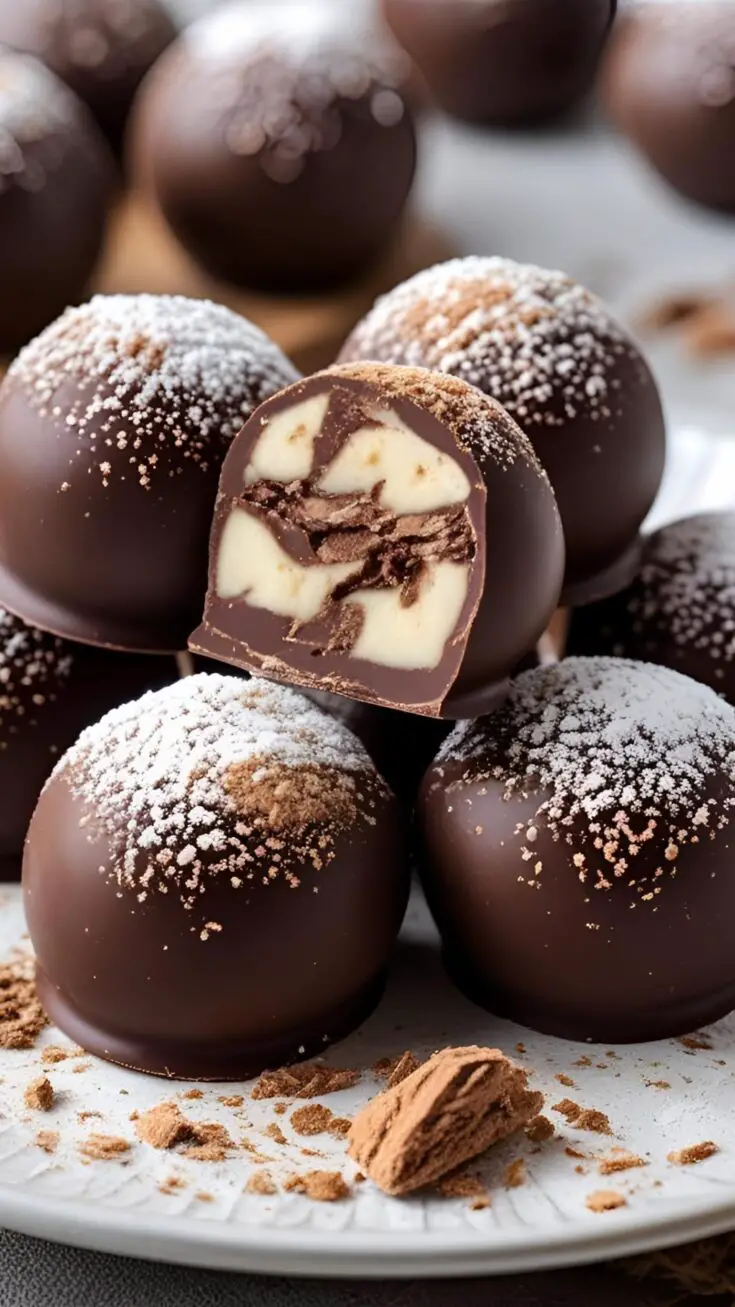
These no-bake tiramisu chocolate balls combine mascarpone, crushed cookies, cocoa, and coffee into delightful, creamy bites.
Roll them in cocoa or coat in chocolate—perfect for gatherings or homemade dessert boxes. Easily converted into bars for slicing and sharing.
Ingredients
- Mascarpone cheese 6 oz — Or: Cream cheese
- Crushed ladyfingers 1½ cups — Or: Cake crumbs
- Instant coffee 1 tsp — Or: espresso powder
- Powdered sugar ¼ cup — Or: maple syrup
- Cocoa powder 2 tbsp — Or: melted chocolate
- Cocoa or nuts for coating
Instructions
Step 1: Blend mascarpone, coffee, and sugar until smooth
Step 2: Stir in crumbs and cocoa to form a dough
Step 3: Chill the mixture for 30 minutes
Step 4: Roll into balls and coat with topping
Step 5: Chill again before serving
Notes
- Use full-fat cheese for best texture
- Chill longer if sticky
- Store chilled or frozen
- Add more crumbs if too wet
- Try bar version in a lined pan
Tiramisu chocolate balls are a delightful take on the beloved dessert—easy to prepare, even easier to enjoy.
Give them a try, share with friends, and tell us how yours turned out!