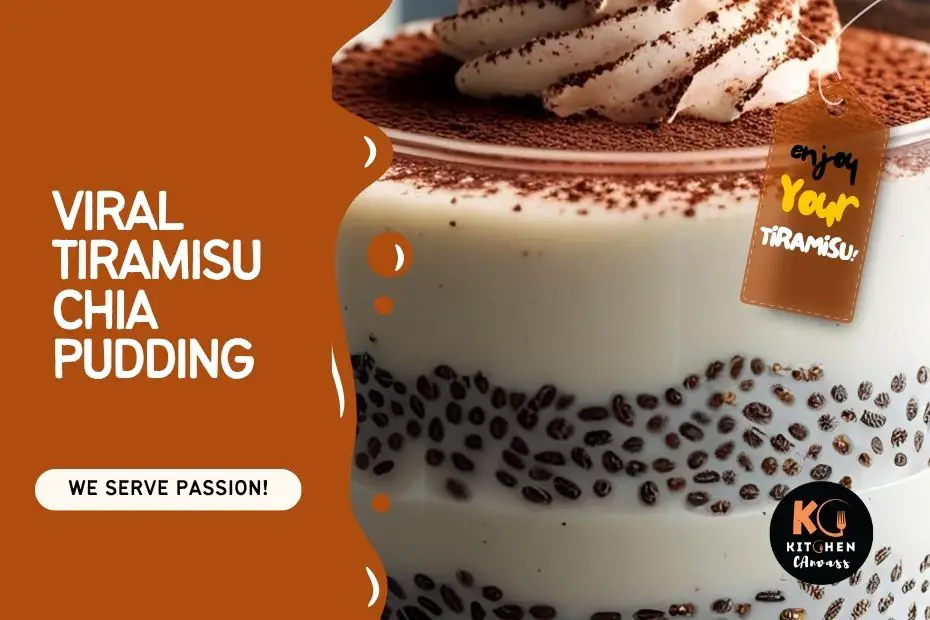
Viral Tiramisu Chia Pudding: A Gluten-Free, Refined Sugar-Free Delight
When you think of tiramisu, you might imagine a velvety, coffee-kissed Italian dessert—luxurious and indulgent.
But what if you could capture that same spirit in a wholesome, wholesome pudding that’s easy on the tummy and kind to your dietary needs?
Enter the viral tiramisu chia pudding, a creamy, layered delight that whispers sweet notes of espresso and cocoa, all while embracing gluten-free ingredients and ditching refined sugar.
It’s the kind of dessert that feels like a soft poem on a lazy Sunday morning—balanced, nourishing, and surprisingly satisfying.
You need to approach this recipe with patience and care—the chia seeds work their magic slowly, soaking up flavors and forming a luscious pudding that holds each layer together like stanzas in a verse.
The subtle sweetness of maple syrup or honey rounds out the bitterness of coffee, while coconut milk brings a silky finish.
It’s best served chilled, with a dusting of cocoa powder or a sprinkle of shaved dark chocolate, making every bite a quiet celebration.
Recipe Overview
| Prep Time | Chill Time | Total Time | Course | Cuisine | Servings |
|---|---|---|---|---|---|
| 10 minutes | 4 hours or overnight | 4 hrs 10 mins | Dessert / Breakfast | Fusion / Healthy | 4 |
Ingredients List
| Ingredient | Quantity (4 servings) | Quantity (6 servings) | Alternatives |
|---|---|---|---|
| Chia seeds | ½ cup | ¾ cup | Flax seeds (ground) |
| Unsweetened coconut milk | 2 cups | 3 cups | Almond milk, oat milk |
| Freshly brewed espresso or strong coffee (cooled) | 1 cup | 1½ cups | Decaf coffee |
| Maple syrup or honey | 3 tbsp | 4 tbsp | Agave syrup, coconut sugar |
| Vanilla extract | 1 tsp | 1½ tsp | Almond extract |
| Cocoa powder (unsweetened) | 2 tbsp | 3 tbsp | Carob powder |
| Mascarpone or dairy-free cream cheese | ½ cup | ¾ cup | Coconut cream whipped |
Cooking Tools Needed
- Mixing bowls: For combining ingredients smoothly. Any large bowl or container works well.
- Whisk or fork: To mix chia seeds into liquids evenly, avoiding clumps.
- Measuring cups and spoons: Precision helps balance flavors and texture.
- Glass jars or small serving containers: To layer and chill the pudding attractively. Mason jars are ideal.
- Spoon or spatula: For spreading layers gently without breaking texture.
- Coffee maker or espresso machine: For brewing the fresh coffee base; alternatives include instant coffee dissolved in water.
How to Make Tiramisu Chia Pudding
To craft this gluten-free, refined sugar-free dessert, patience is the best ingredient.
The chia seeds need time to absorb liquids and thicken, developing a pudding-like texture that serves as a canvas for espresso’s bold notes and cocoa’s gentle bitterness.
It’s important to prepare the components carefully and layer with care so each spoonful sings.
Step-1: Prepare the Coffee-Chia Mixture
In a mixing bowl, combine the cooled espresso or strong coffee with 1 tablespoon of maple syrup and 1 teaspoon of vanilla extract.
Whisk in the chia seeds thoroughly. Let this mixture rest for about 10 minutes, then whisk again to prevent clumping.
Step-2: Make the Cream Layer
In another bowl, whisk mascarpone (or dairy-free cream) with the remaining maple syrup and vanilla until smooth and creamy. Set aside.
Step-3: Combine Coconut Milk and Cocoa
Slowly whisk the cocoa powder into the coconut milk until fully blended and smooth.
Step-4: Layer the Pudding
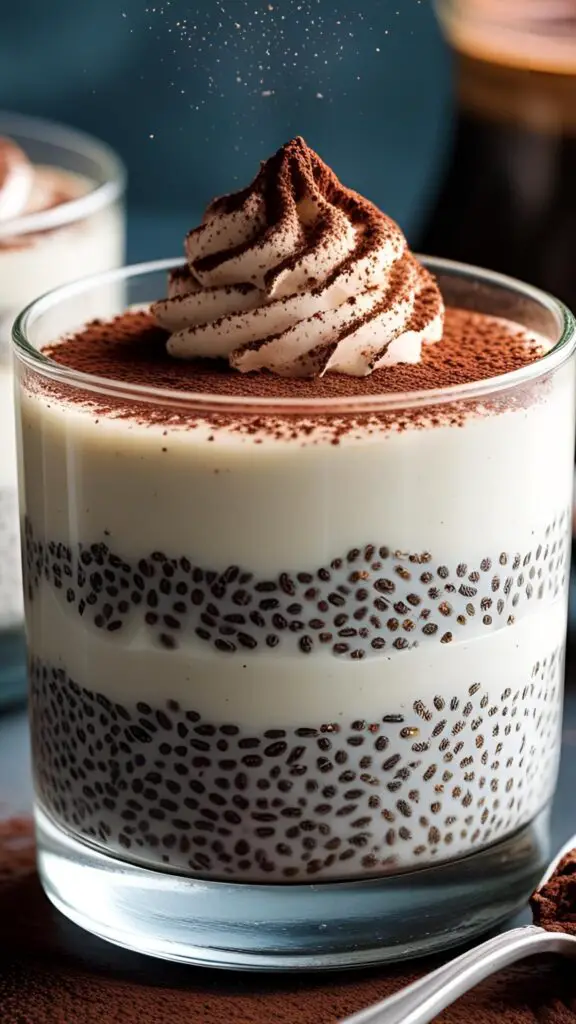
In your serving jars, spoon a layer of the coffee-chia mixture. Follow with a layer of the creamy mascarpone mixture, then a layer of the cocoa coconut milk.
Repeat layers until jars are filled, finishing with cocoa layer on top.
Step-5: Chill and Set
Cover the jars and refrigerate for at least 4 hours or overnight. This resting time allows chia seeds to swell fully and flavors to meld.
Step-6: Garnish and Serve
Before serving, dust the top with a little extra cocoa powder or shaved dark chocolate. A sprinkle of chopped nuts or cinnamon can add texture and warmth.
How to Convert Viral Tiramisu Chia Pudding Into Bars
Transforming this creamy, layered chia pudding into bars means adapting the texture and structure so it holds firm when sliced and eaten by hand.
Unlike the soft, spoonable pudding, bars require a stable base and a firmer set to keep their shape.
Ingredient Adjustments for Bars
- Add a Firm Base: Use crushed gluten-free cookies or nut flour mixed with melted coconut oil or butter to create a sturdy crust. Press this into the bottom of a lined pan.
- Adjust Liquid Ratios: Reduce coconut milk slightly to create a thicker pudding that will set firmly.
- Use a Setting Agent: Incorporate about 1 teaspoon of powdered gelatin (or agar-agar for vegan) dissolved in warm water into the mascarpone or cream layer. This helps the bars hold together.
- Increase Chia Seeds Slightly: Adding a bit more chia (around ⅔ cup for 4 servings) will help thicken the coffee layer further for stability.
- Sweetener: Keep the sweetener amount consistent, but remember the firmer texture may mute sweetness slightly, so taste as you go.
Step-by-Step Method for Bars
Step 1: Prepare the Crust
Crush gluten-free cookies or use almond flour and combine with melted coconut oil or butter until it sticks together.
Press firmly into an 8×8-inch baking pan lined with parchment paper. Chill for 20-30 minutes to set.
Step 2: Make Thickened Coffee-Chia Layer
Mix the cooled coffee with maple syrup and vanilla extract. Whisk in the chia seeds thoroughly and let rest for 15 minutes, whisking occasionally to prevent clumps.
The mixture should be quite thick.
Step 3: Prepare the Cream Layer with Gelatin
Dissolve gelatin or agar-agar in warm water and mix into mascarpone or dairy-free cream. Whisk in maple syrup and vanilla until smooth and slightly thickened.
Step 4: Assemble the Bars
Spread half of the thickened coffee chia mixture over the chilled crust. Follow with half the cream layer, spreading evenly.
Repeat layers finishing with cream on top, smoothing carefully.
Step 5: Chill to Firm
Cover the pan and refrigerate for at least 6 hours or overnight to let the gelatin set and the layers firm up properly.
Step 6: Slice and Serve
Remove the bars from the pan using the parchment edges. Cut into squares with a sharp knife dipped in hot water for clean slices.
Dust with cocoa powder or drizzle with melted dark chocolate before serving.
Tips for Success
- Don’t skip chilling time — bars need time to set firmly.
- Use a good quality gelatin or agar-agar and follow dissolution instructions carefully.
- Press the crust firmly and evenly for a sturdy base.
- Use a sharp, warm knife to get clean cuts without crumbling.
Variation to Try
There’s room for creativity in this pudding that’s as flexible as your imagination. You might want to introduce new flavors or textures to surprise the palate.
Here’s how to customize your tiramisu chia pudding:
Nutty Crunch Addition
Sprinkle toasted hazelnuts, walnuts, or almonds between layers for a delightful crunch that contrasts the creamy pudding. The nut oils also enhance richness.
Cinnamon-Spiced Version
Add a teaspoon of ground cinnamon to the cocoa coconut milk layer for a warming, spicy twist. It pairs beautifully with coffee notes.
Berry Burst
Add a layer of mashed fresh berries (blueberries or raspberries) between the cream and cocoa layers for a tangy freshness and vibrant color.
Vegan & Nut-Free
Use coconut-based mascarpone alternatives and replace nuts with toasted seeds like pumpkin or sunflower seeds to keep it allergy-friendly.
Storing Tips
- Always cover the pudding jars tightly before refrigerating to avoid moisture absorption.
- Store chilled for up to 3 days; chia pudding texture can thicken further if kept longer.
- Do not freeze this pudding as texture and flavor may be compromised.
- Prepare individual servings for easy grab-and-go treats.
Extra Tips for Success
- Use fresh coffee or espresso cooled to room temperature to avoid breaking chia gel formation.
- Whisk chia seeds well into liquids to prevent lumps.
- Taste the cream layer as you go and adjust sweetness subtly—remember the coffee layer adds bitterness.
- Allow enough chilling time for the chia seeds to reach pudding consistency.
Common Mistakes and How to Avoid Them
| Mistake | Cause | Prevention |
|---|---|---|
| Chia pudding too runny | Insufficient soaking or uneven mixing | Whisk chia seeds thoroughly and refrigerate at least 4 hours |
| Layer blending or sinking | Layers too liquidy or not thick enough | Ensure cream and cocoa layers are thickened and chill between layers if possible |
| Bitterness overpowering sweetness | Too strong coffee or insufficient sweetener | Adjust maple syrup quantity to taste, use milder coffee if needed |
Tiramisu Chia Pudding

A wholesome chia pudding inspired by tiramisu, layering coffee, creamy mascarpone, and cocoa in a chilled glass.
Ingredients
- Chia seeds
- Unsweetened coconut milk
- Freshly brewed espresso or strong coffee (cooled)
- Maple syrup or honey
- Vanilla extract
- Cocoa powder (unsweetened)
- Mascarpone or dairy-free cream cheese
Instructions
Step-1 Mix coffee, vanilla, syrup, and chia seeds; let rest 10 minutes whisking once.
Step-2 Whisk mascarpone with syrup and vanilla until smooth.
Step-3 Blend cocoa powder into coconut milk until smooth.
Step-4 Layer coffee chia, cream, cocoa milk in jars repeating layers.
Step-5 Chill at least 4 hours or overnight.
Step-6 Dust cocoa powder before serving.
Notes
- Use fresh cooled coffee to avoid clumping
- Whisk chia seeds well
- Adjust sweetness to taste
- Serve chilled with optional toppings like nuts or berries
Let’s Enjoy This Healthy Twist on a Classic!
This viral tiramisu chia pudding reimagines a beloved dessert into a nourishing, gluten-free treat without refined sugar.
It’s a dish that honors tradition but invites innovation—perfect for those seeking balance without sacrificing flavor.
Give it a try, savor the layers, and share your experience with friends and family.