Banana Cheesecake Pudding Recipe That Actually Tastes Bakery Rich
So you have three brown bananas and zero motivation to bake bread.
We’ve all been there. Those bananas are staring at you from the counter, slowly turning into fruit flies’ real estate. Banana bread is great and all, but it requires an oven, patience, and the ability to measure flour without crying. Banana Cheesecake Pudding is none of those things. It’s no-bake. It’s layered. It tastes like someone who went to culinary school made it — except that someone is you, in pajamas, eating spoonfuls of cream cheese straight from the bowl. No judgement. We’ve all been there too.
Why This Recipe is Awesome
First, it’s no-bake. That means your oven can stay off and your kitchen won’t feel like the surface of the sun. Second, it uses up those sad bananas in the most delicious way possible. Third, it’s basically two desserts in one: vanilla pudding plus cheesecake filling plus fresh bananas plus vanilla wafers. That’s four things. I lied. It’s four desserts in one. Sue me.
It comes together in about 15 minutes. Then you chill it and try not to open the fridge every five minutes to “check on it.” (I do this. The cake is fine. I am not.) Plus, it’s a crowd-pleaser for holidays, potlucks, or Tuesday nights when life feels heavy and you need something creamy and sweet.
Ingredients You’ll Need
For the cheesecake pudding layer:
- 1 block (8 oz) cream cheese — softened. Don’t even think about using it cold.
- 1 cup powdered sugar
- 1 tsp vanilla extract
- 1 tub (8 oz) Cool Whip or any whipped topping — thawed
For the vanilla pudding layer:
- 1 box (3.4 oz) instant vanilla pudding mix
- 1 ½ cups cold milk — whole milk works best, but 2% is fine too
For the layers & toppings:

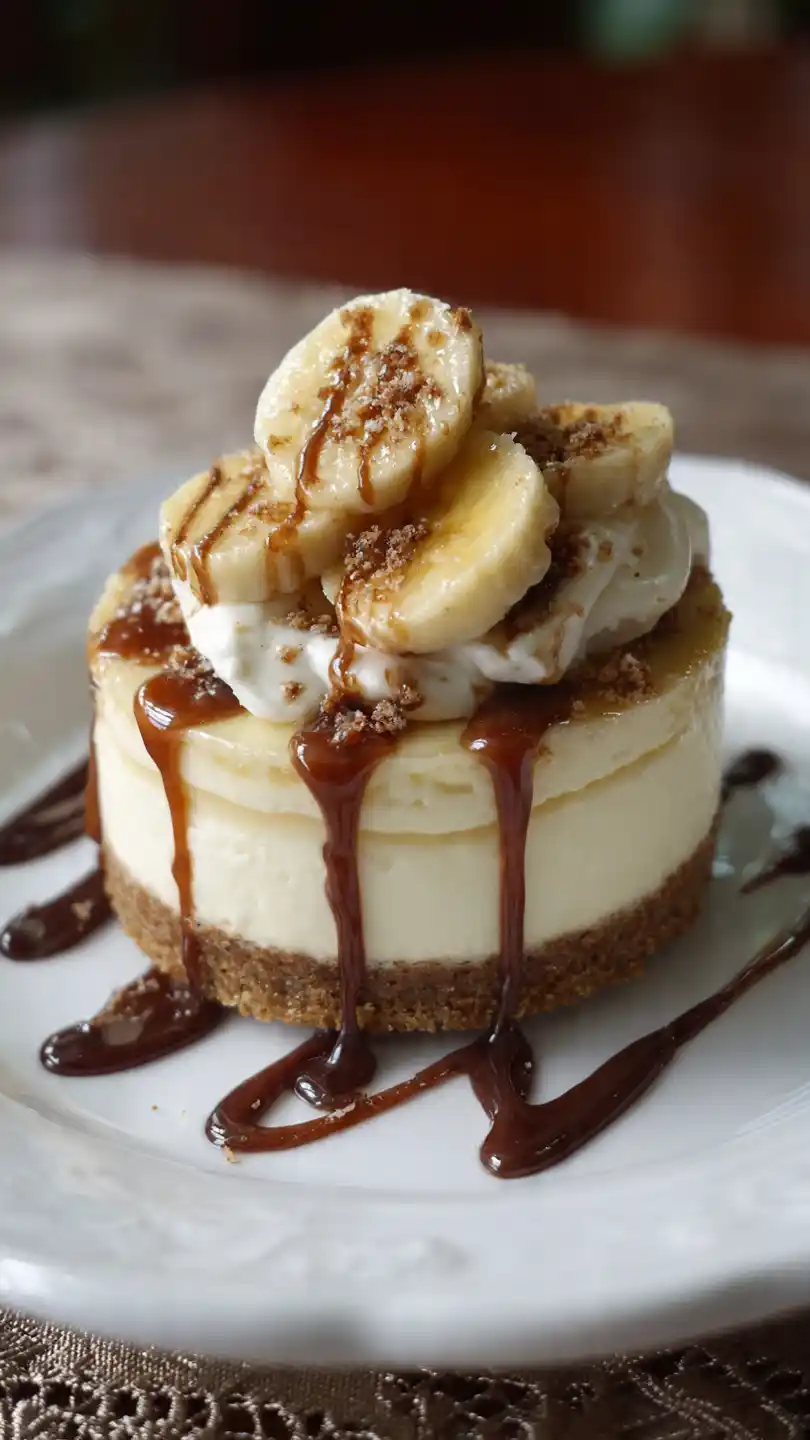
- 3–4 ripe bananas — sliced into ¼-inch rounds
- 1 box vanilla wafers (about 40–50 cookies) — Nilla wafers are classic but any brand works
- Extra whipped cream and wafer crumbs for garnish (optional but cute)
Step-by-Step Instructions
- Make the cheesecake filling first. In a large bowl, beat the cream cheese until it’s smooth and fluffy. No lumps allowed. Add the powdered sugar and vanilla, then beat again until combined. Fold in the Cool Whip gently — don’t deflate it, just stir until it looks like fluffy clouds of happiness.
- Make the pudding layer. In another bowl, whisk the instant vanilla pudding mix with cold milk for about 2 minutes. It will thicken up quickly. Let it sit for 5 minutes to fully set. Then fold this pudding into the cheesecake mixture. Yes, you’re combining them. No, it’s not a mistake. This creates one glorious, creamy, cheesecake-pudding hybrid.
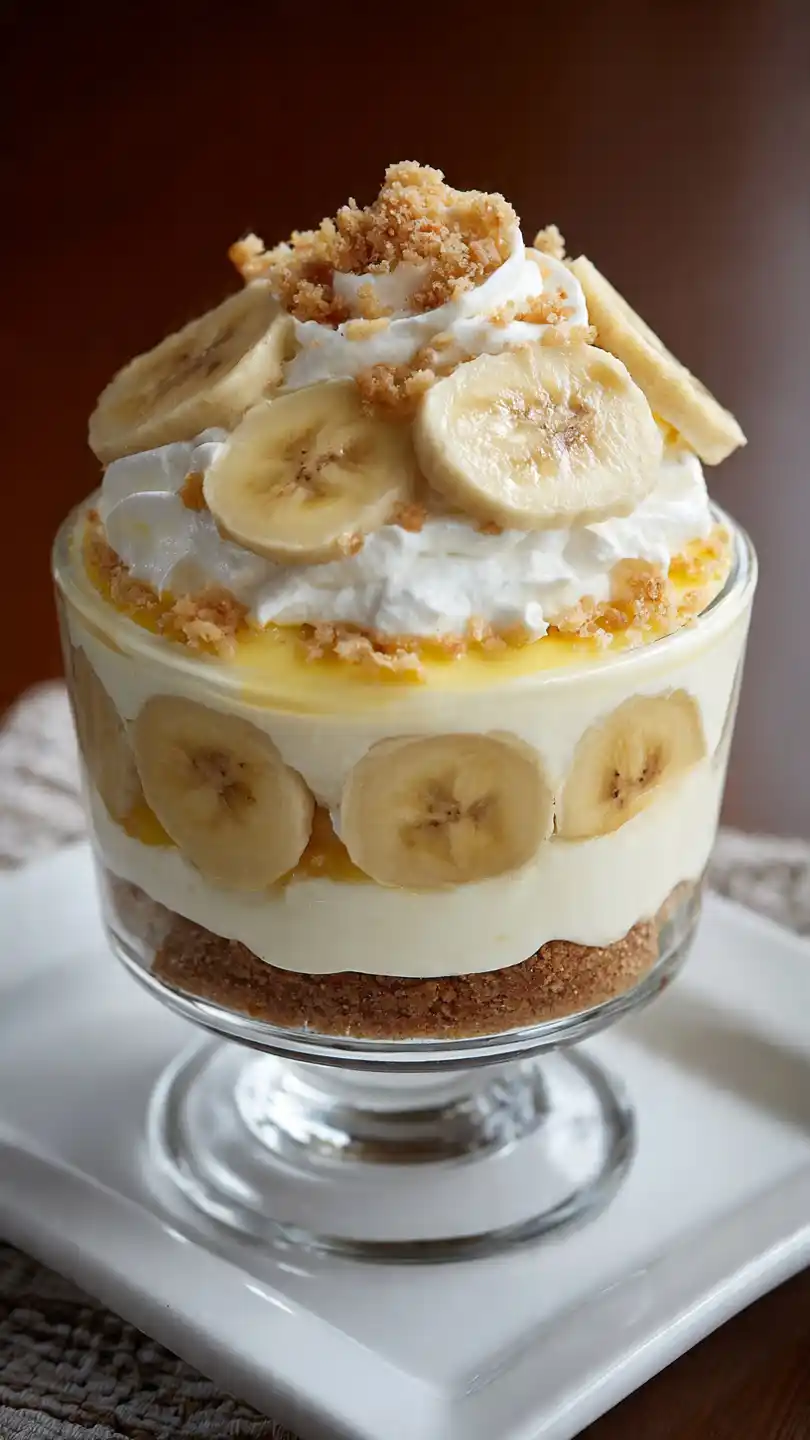
- Choose your vessel. A 9×9-inch square dish works great. Or a trifle bowl if you want to be fancy. Or a big glass casserole dish. Or honestly just a giant bowl if you’re eating this alone and that’s fine too.
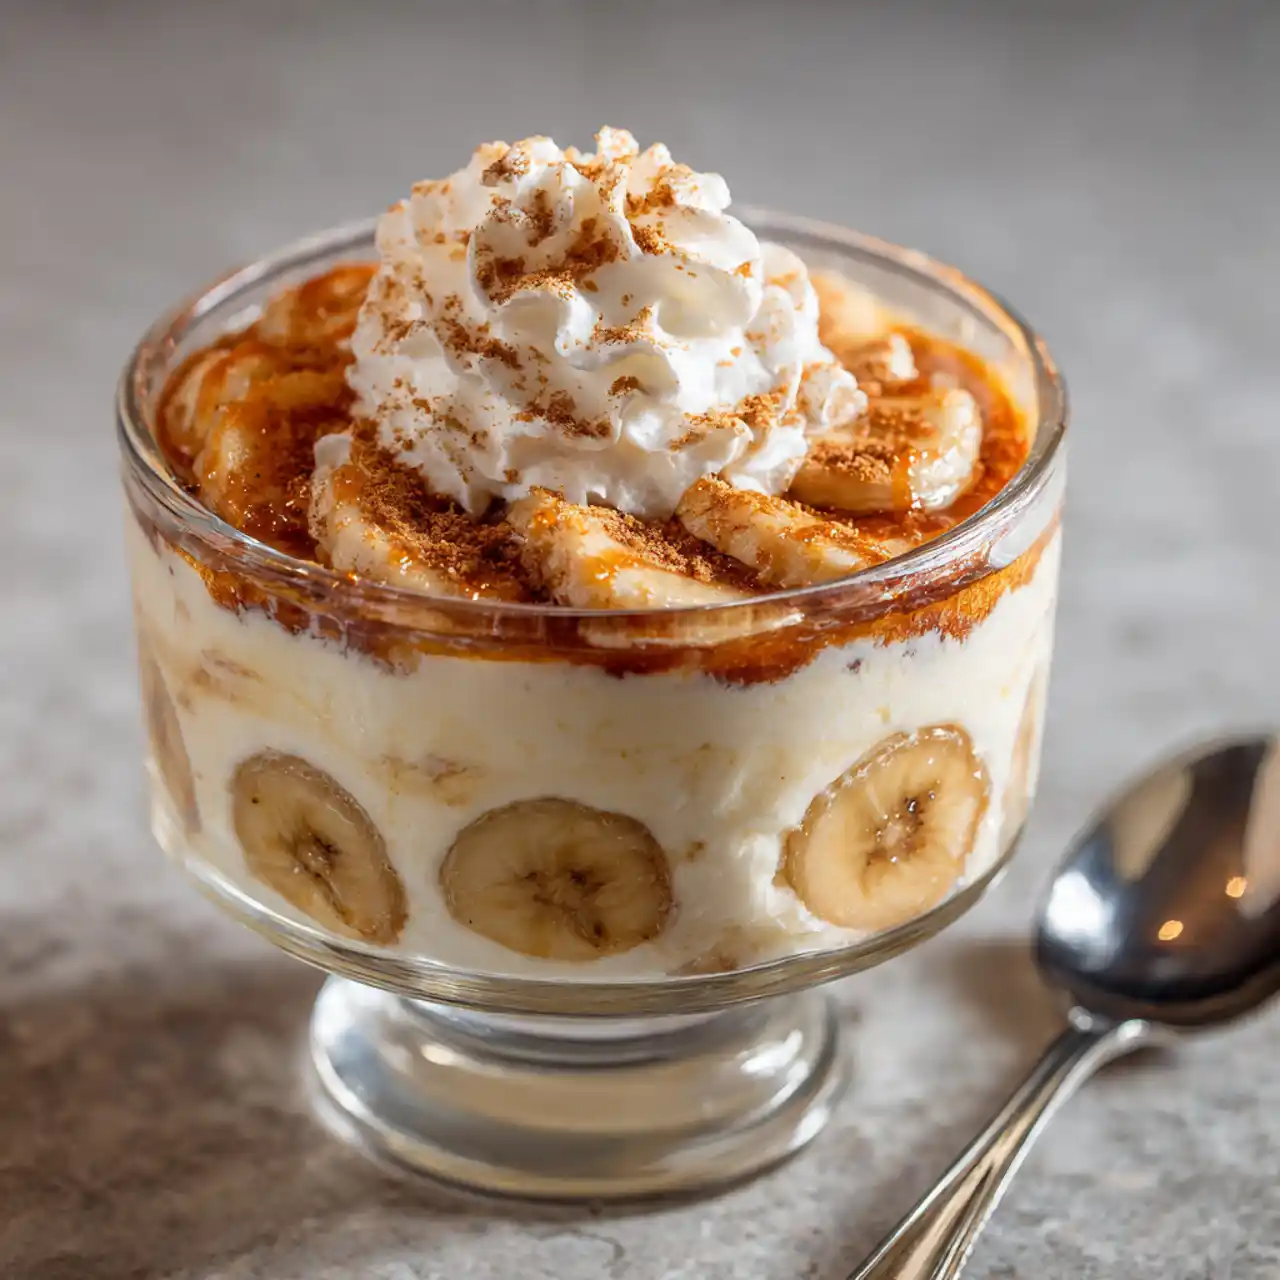
- Layer like your life depends on it. Start with a thin layer of the cheesecake pudding mixture on the bottom. Then add a single layer of vanilla wafers. Then a layer of banana slices. Then more pudding mixture. Repeat — wafers, bananas, pudding — until you run out of ingredients. End with pudding on top.
- Cover and refrigerate for at least 4 hours. Overnight is even better. This isn’t optional — the wafers need time to soften into cake-like layers. If you eat it right away, the cookies will still be crunchy and weird. Trust the process. Go watch a movie. Take a nap. Pet your cat. The pudding will wait.
- Before serving, crush a few extra wafers and sprinkle them on top with some banana slices and a dollop of whipped cream. Then dig in with a big spoon.
Common Mistakes to Avoid
- Using cold cream cheese. You’ll get lumpy cheesecake filling and a sad texture. Leave it on the counter for an hour. Or microwave it for 10 seconds — but watch it like a hawk because melted cream cheese is a whole different problem.
- Skipping the refrigeration time. I know you’re hungry. But crunchy wafers in a “pudding” are just sad cereal. Let them soften. Future you will thank present you.
- Using instant pudding mix that isn’t instant. Read the box. Cook-and-serve pudding won’t set properly here. You want the kind that says “instant” or “5 minute.” Don’t learn this the hard way like I did.
- Slicing bananas too thick. Thick slices don’t layer well and they slide around. Go for thin, even rounds — about the thickness of a wafer cookie. Also, don’t slice them until you’re ready to layer, or they’ll turn brown and look unappetizing.
Alternatives & Substitutions
- No Cool Whip? Use 1 cup of heavy cream whipped to stiff peaks with 2 tbsp powdered sugar. Takes an extra 5 minutes but tastes more authentic.
- Want a chocolate version? Use chocolate pudding mix instead of vanilla, and add chocolate wafer cookies. Then call it “Chocolate Banana Cheesecake Pudding” and accept your award.
- Dairy-free? Use vegan cream cheese, coconut milk, and dairy-free pudding mix (some brands exist). Coconut whipped topping works great too.
- Add peanut butter. Swirl in ½ cup creamy peanut butter into the cheesecake mixture. Banana + peanut butter + cheesecake = ridiculous. In a good way.
- Short on time? Use pre-made pudding cups and just layer them with cream cheese mixture. It’s cheating but I won’t tell anyone.
FAQ
Can I use fresh whipped cream instead of Cool Whip?
Yes! Whip 1 cup heavy cream with 2 tbsp powdered sugar until stiff. Fold it in gently. It’ll be slightly less stable than Cool Whip but way more delicious. Just don’t let it sit out too long before serving.
Why did my bananas turn brown?
Bananas oxidize when exposed to air. To slow it down, toss the slices in a little lemon juice before layering. Or just accept the brown — it still tastes fine, just looks a little sleepy.
Can I make this in individual cups?
Absolutely. Use small mason jars or dessert cups. Layer the same way. They’re perfect for parties or portion control (or pretending you have portion control). Plus they look adorable on Instagram.
How long does this last in the fridge?
About 3 days. After that, the bananas get mushy and the wafers turn to mush. Still edible, just not pretty. Pro tip: if you know you won’t finish it, leave the banana slices out of half the dish — add them fresh when you serve.
Final Thoughts
You just turned three sad bananas into a dessert that tastes like a bakery made it. No oven. No stress. No fancy skills. Just layering, chilling, and trying not to eat the cream cheese mixture with a spoon before it makes it into the dish. (I failed at that. You might too.) Now go impress your family, your coworkers, or just yourself. You’ve earned every creamy, banana-y, cheesecake-y bite. And remember — refrigerate first. Eat second. Nap third. That’s the rule.